Steps to install NAV Business Central
Here are the detailed steps to install the NAV 365 Business Central
1. Please make sure that you always run the setup through "Run as Administrator" to avoid any permission error during the installation.
2. Here is the setup screen which will popup to install the NAV Business Central. Click on Next to run the installation.
3. Click on Next to accept the license
4. Here you have different options to get and use Business Central. Click on the Advanced Installation Option.
5. Here you will get an options to either install the Demo or to choose the installation options. Click on Choose installation options.
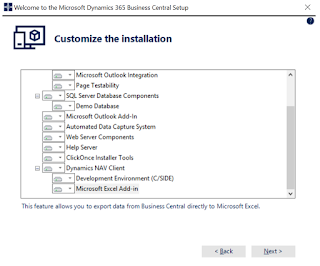
6. Click the installation options, click on Custom.
7. Select the installation options which you need to install. I prefer to install all options for first time use. After selecting, clock on next.
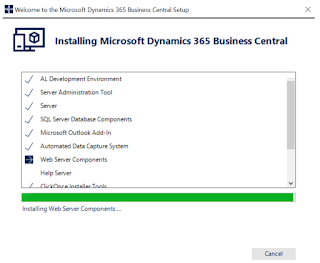
8. Here is the below which will appear to show the installation status.
9. After installation, the below pop will appear. This means the Business central is installed without any error.
After the installation, here are the below components which will be installed in your machine.
1. Microsoft Dynamics NAV
2. Dynamic NAV Development shell
3. Business Central Administration Shell
4. Dynamic NAV Development Environment
5. Web Client - Dynamics 365 Business Central


Comments
Post a Comment